A few months back we were invited to a summer wedding, and I decided I had to make an outfit for the occasion. The dress I was working on at the time was promptly tossed aside and remains unfinished. I usually only have one project on the go, but dress making for weddings takes priority dontcha think?!

I'd seen By Hand London's Flora Dress make the rounds on the blogs earlier this year. I loved the high neck and full, dipped skirt, and thought it would be something a little different to wear to a wedding - I like that my chest and legs are both pretty covered but it's still a beautifully feminine, floaty dress.

My outer fabric is a polyester crepe-backed satin from Fabricland - a scary website but with nice staff at the end of the phone, speedy delivery and above all, rock bottom prices. The fabric is called 'coral' - so I expected it to be a bit more orangey but as you can see it is pink pink pink!

Let's talk about the good things in this project first shall we? Overall, this was an enjoyable, mostly speedy make, with few pattern pieces to cut out. I never trust myself to skip making a muslin as I can't seem to get my measurements correct / always choose the wrong size, so I had a quick go at the bodice. It came out too large, so I promptly made a size smaller in the lining fabric, which was much better. Consequentially that became the actual lining to my bodice. I'm fairly certain I graded out slightly at the waist - I usually do, but I didn't make a note of it! I wanted to make a feature of the shiny satin on the underside of the skirt by making the dipped hem version, but as By Hand London patterns are drafted for quite tall ladies, and the skirt looked veeeeerry short even on them, I lowered the front hem by about two inches and raised the back hem by about another two (I think - again, no notes!). This kept the lovely dipped effect but doesn't swamp my short frame.

I read that the front and back necklines on Flora gaped somewhat, so I followed this great tutorial and took about an inch from the back and half an inch from the front. The front sits very nicely, the back still gapes a teeny tiny bit but suspect it helped when I wanted to swing my arms about like a crazy person when I was on the dance floor. I also put in my best, most invisible invisible zip so far.

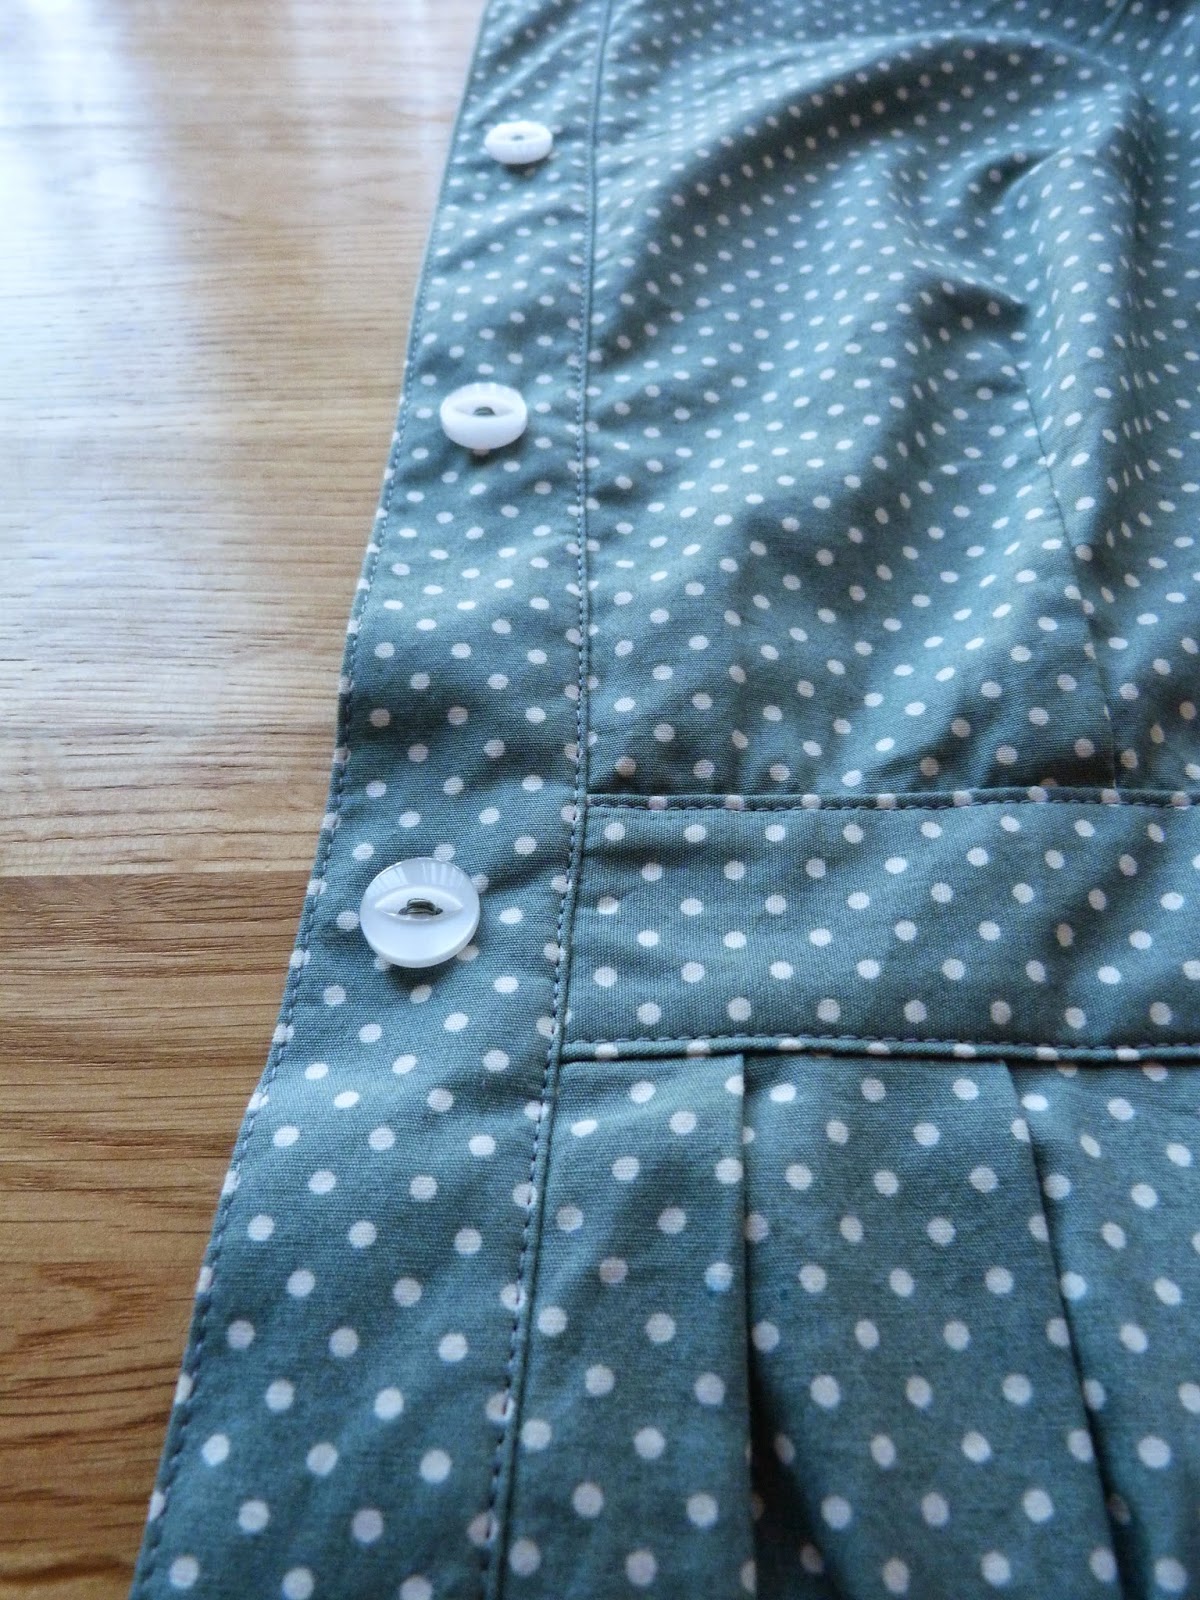
I'm particularly pleased with myself for adding a waist stay, which isn't included in the pattern instructions, with the help of this Sewaholic Tutorial. The crepe isn't great quality material, and the skirt is a little heavy due to it's volume, so I was concerned it may stretch and warp over time. Reading around suggested a waist stay would help prevent this, but the deal wasn't clinched until I found the Sewaholic tutorial and also discovered a firm, stiff ribbon that my Nan gave me several months ago along with a bundle of age-old ribbons, buttons and thread. The above pic shows the waist stay just after I've attached it to the skirt - as per the tutorial by the end it is neatly and invisibly encased within the lining of the bodice.
 |
| I've deliberately only shown you the very best bits of the skirt hem in this shot! |
I did bound seams for the first time. I had planned to do this in a contrasting colour from the very beginning. Initially I hoped to make a purple Flora, with green contrasting seam and hem binding, but then I discovered that the Bridesmaids were wearing purple, so I changed tack and went for pink and blue. This is satin bias binding from John Lewis' haberdashery. As it happened, I had little choice but to bind the seams - the fabric frays really, really badly, I don't have an overlocker and dislike the finish when you do a zigzag stitch on the machine. The bound seams are a bit sloppy, particularly towards the waist which depressed me a little but as noone can see these I got over it.

Okay, and the not so good about the dress? That blasted. circle. skirt. was almost a deal breaker. I knew curves weren't easy to hem, but this was a demoralising nightmare. Putting together the dress, including tracing (yeah I trace too), cutting, muslin-ing and sewing took about three weeks. The circle hem took a further two. I bought a shiny blue ribbon and followed By Hand London's tutorial for a tape hem finish, but clearly messed up somewhere as you can see from this wobbly mess above. I think there was a lot of slipping and puckering when I first machine stitched the ribbon to the hem and my catch stitch is probably not the best. Possibly I should try bias binding next time? I plan to use circle skirts in some pretty important projects in the not too distant future so need to get better at this. If anyone had any tips I'd be most grateful!

This tends to happen to me with dresses. The waistline of the bodice and the waistline of the skirt end up not being the same measurement when I attach them, as you can see above. With the Flora, my skirt waist ended up being almost an inch shorter. I think it's possibly because when I stay stitched the skirt waist I puckered the fabric up slightly? Perhaps my non-stretchy ribbon I used as a waist stay is the culprit? But losing an inch seems a bit extreme, does anyone have any suggestions? Luckily, I still had enough seam allowance left to put the zip in without an issue.

Overall, I'm generally pleased with the fit - close fitting as it's designed to be, but not tight or uncomfortable - good fun to dance in! The side bust darts are a bit too high, and I think that's what has caused the rippling along the side boob (teehee) - I'm not practiced enough at recognising every issue in a muslin, but I'm pretty chilled about this as I think it's a skill that will come in time. Other bits of rippling I think can be attributed to the shell fabric interacting with the lining (a plain pink cotton from Goldhawk Road) as it doesn't feel ill fitting. But again, I think little things like this will come in time.

Would I have worn this dress had we been invited to the full day of the wedding, and been part of formal photos rather than just the evening of drinking and dancing....? Probably not. I was quite disheartened by the ripply circle hem which took several painstaking evenings of hand stitching and looks pretty bad close up (I'm not deliberately fishing for compliments - I've not shown you any really close up pics of the hem because I'm too embarrassed). However, when I showed it to my fiance Chris, after having sent him a few depressed emails at work about how upset I was about it, he duly remarked 'I don't know what you're on about, it looks great!' :) So that clinched it and I wore it to the wedding rather than falling back on the shop bought dress I was considering wearing instead.
And how can I linger on the poor hem when a circle skirt is this much fun:

I also got my first totally unsolicited sewing compliment from a stranger at the wedding. Not from my fiance, family, friends, or colleagues, who all know I sew, but a fellow wedding guest who said she loved my dress and the lining and where was it from? I said I made it myself but no it wasn't my profession, just my hobby. Happy times :)
Any tips on the bits I had trouble with would be much appreciated! Have you made anything for a special occasion recently?


+Coltsford+pic.jpg)